Well, finally, it's here! The big project I've alluded to a couple of times is finally finished and ready to be unveiled.....
I am lucky enough to have just become an auntie again, to a beautiful nephew, and this box is a gift for him, and his parents, my sister and brother in law.
I've also done another first for me, and that is to make a Youtube video of the box, so I can show my sister around it (she lives a distance away and I don't know when I will get chance to visit, so it was the only way I could think of to share all the bits!)
The video shows you around the whole box (albeit in a rather shaky cam, slightly out of focus way :)), but I've also uploaded some stills below, for a closer look.
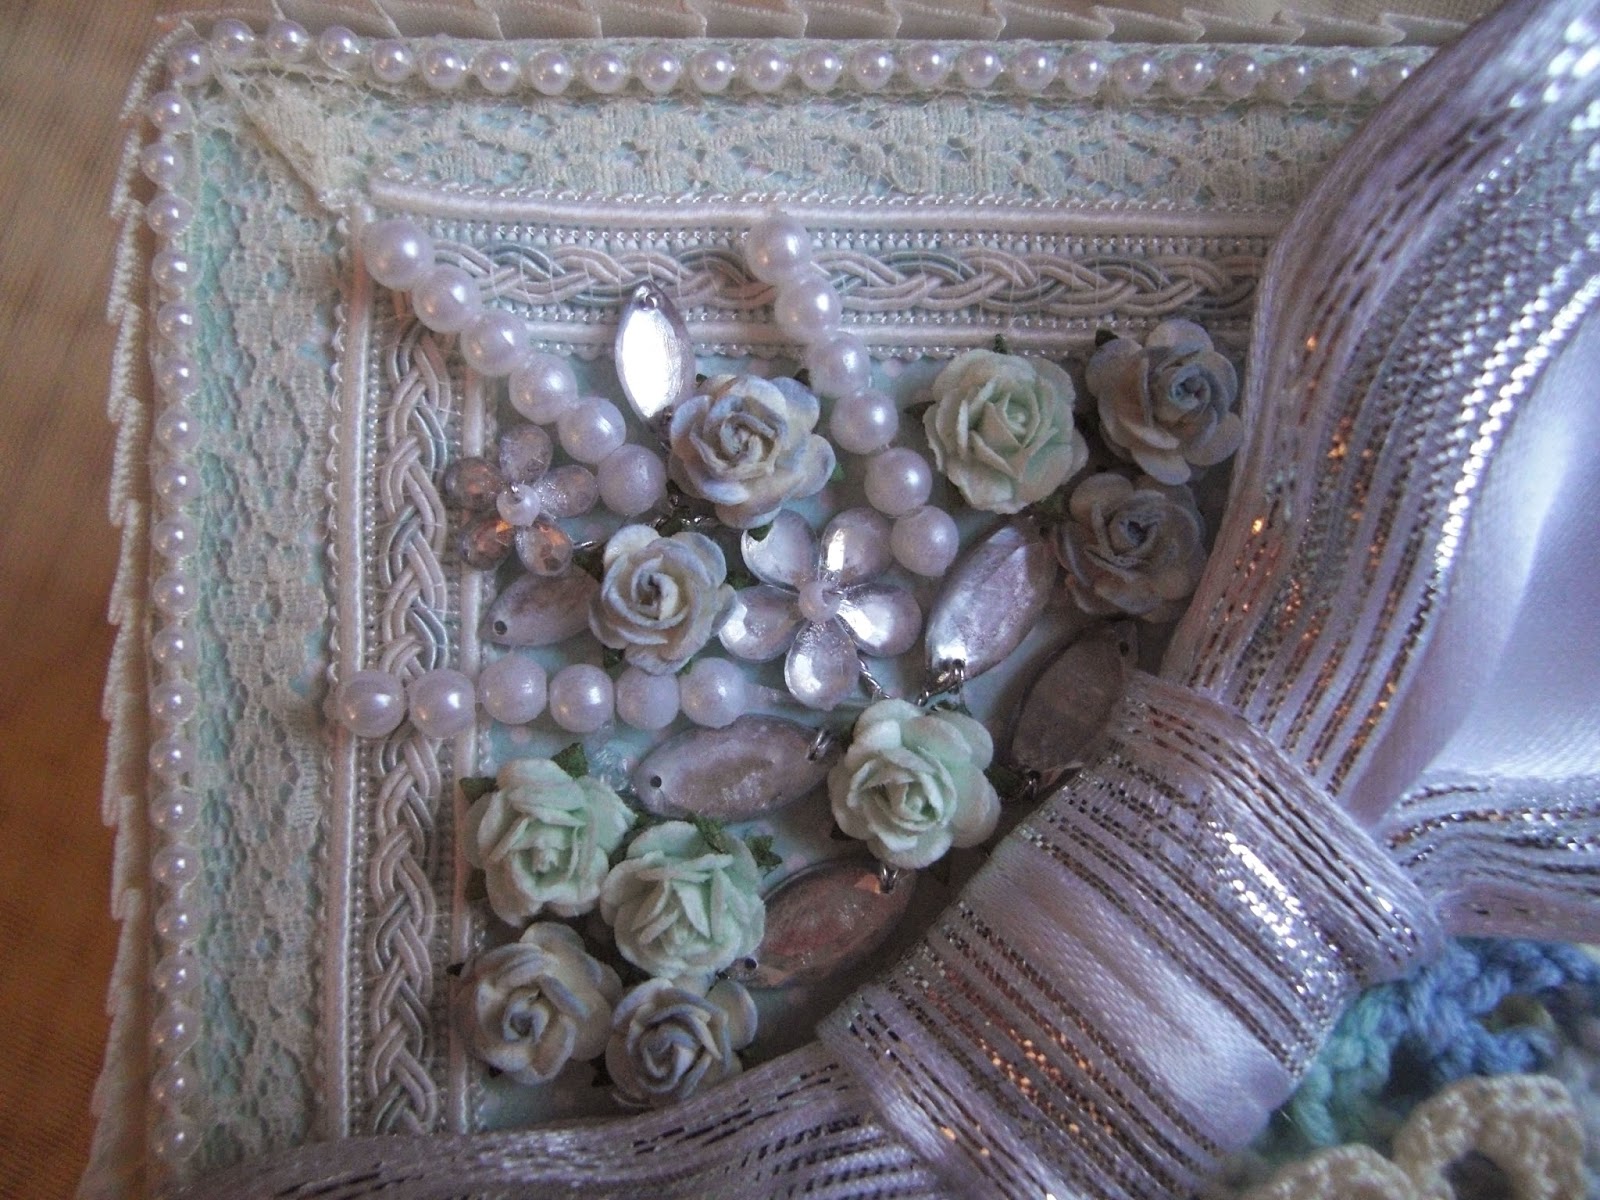
The outside of the box. I didn't have any flourishes that were right for the box, so I used Liquid Pearls and created my own flourishes.
The lid is decorated with paper flowers from Wild Orchid Crafts, ribbon and trim, and a couple of bits that I crocheted earlier!
I love the first moment the lid is removed and it all opens out.
The lid of the inside box is one of my favourite bits of the whole project. I think the Prima angel is just so gorgeous, and again, lots of WOC paper flowers.


I wanted to personalise the project, so decided to die cut fencing for around the inner box, and create a door behind which I put the babies name, date of birth and birth weight. And inside, I crocheted a little pair of baby shoes! There is loads of room in the box for baby keepsakes too.
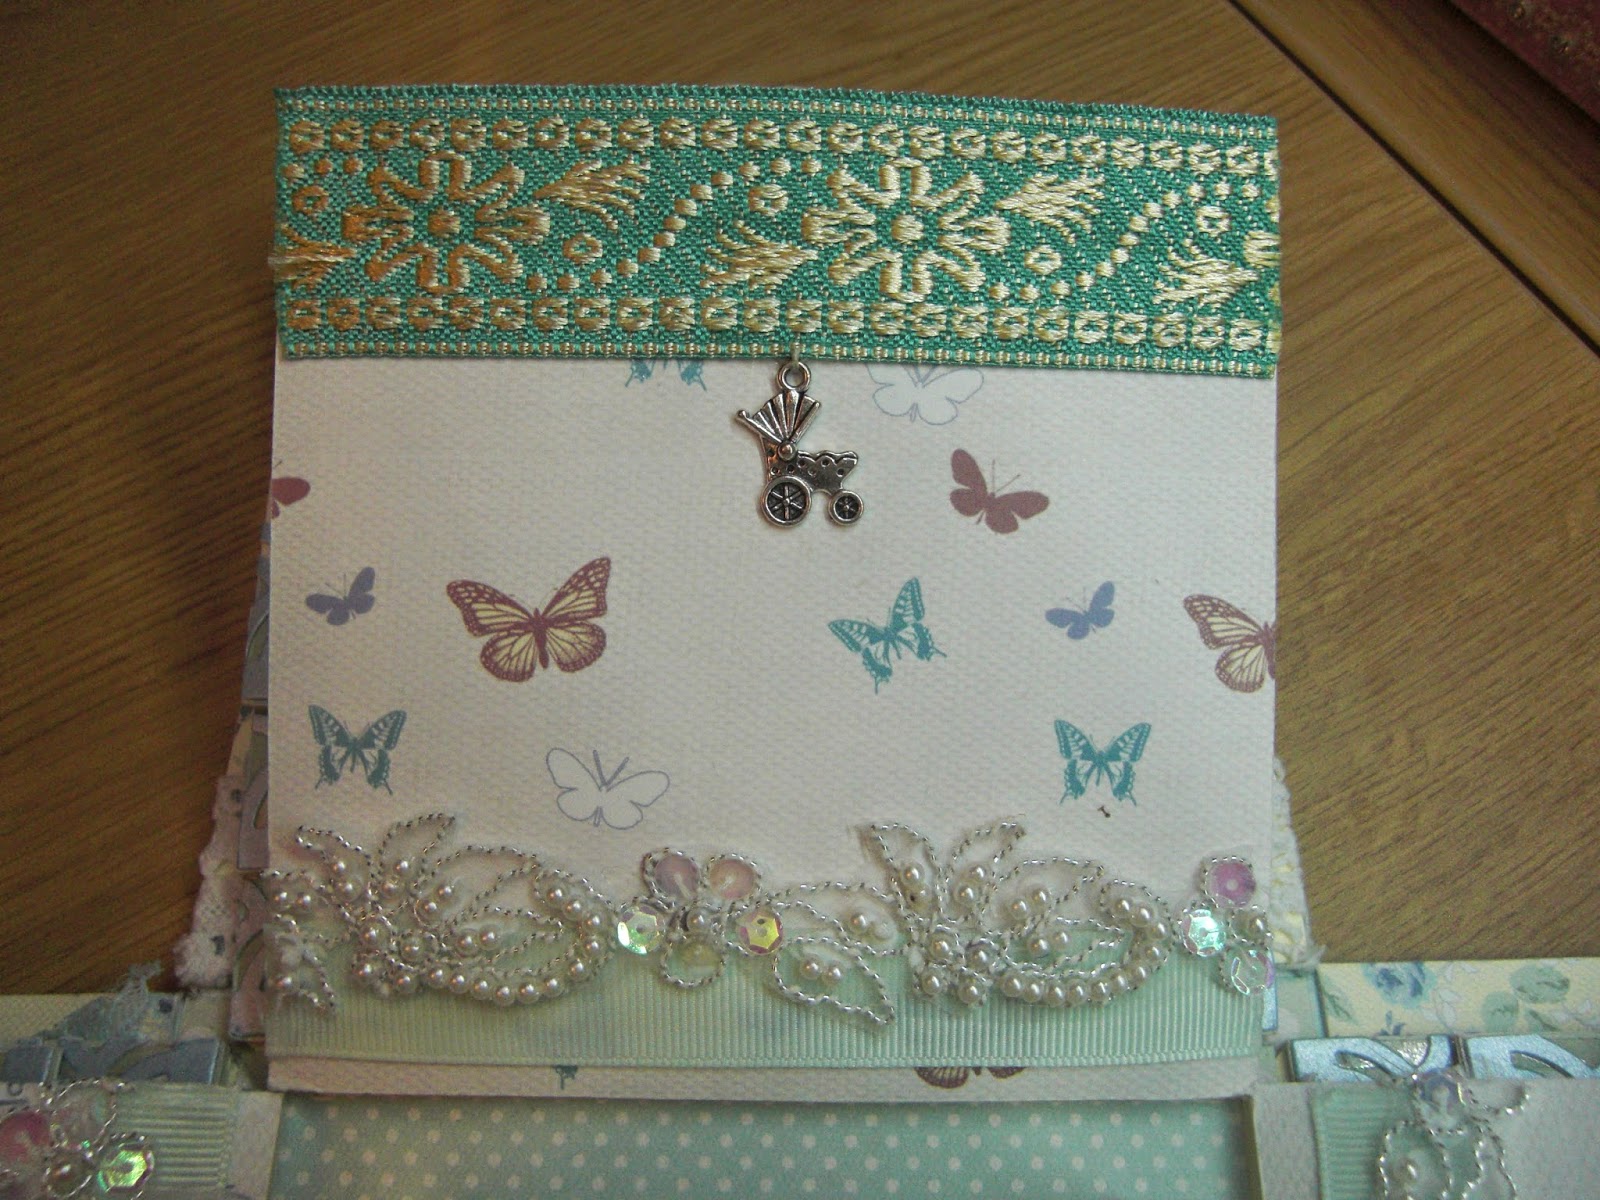
The first round of pages, working from the central box outward. I really love the bottom trim - it actually wasn't the first trim I used for these pages, but when I initially finished the box, the trim I'd used just wasn't sitting right with me, so I ended up scouring ebay until I found something that would better fit in with the theme of the rest of the box, and this little gem is what I was lucky enough to end up with!
Each of the first round of pages has three pockets in the top, and each pocket has a tag - or a photo mat - in it. I chose to use decorative paper on only one side of each tag, and on the other, I stamped a light background, and then journalling lines. This way, each tag could be used for 2 photos - one on the front and one on the back, OR just a single photo, and the back used to jot down details of when the photo was taken, or any other circumstance related to the picture.
These are the back panels of the innermost flaps. In each round of the box, opposite panels match each other, so there are two opposite panels with the lace trims and crochet flowers, and two with the pearl trim.
These are the middle flaps. There are three months worth of removable calendar cards in each of the 4 middle flaps, with a space for babies' weight. The backs of the calendar cards are blank, so notes can be jotted down there. Each calendar card is set into a pocket on a waterfall, so the underside of each pocket would make a great photo mat. Then, under the final flap, there is one last page with a little pocket for any extra photos or notes.
These are the backs of the middle flaps - two of each of them, sited on opposite sides. The panel with the crocheted car can be a photo mat, the other panel with the hearts is purely a decorative panel.
more to follow......


.jpeg)


.jpeg)
.jpeg)

.jpeg)
.jpeg)
.jpeg)
.jpeg)


