Monday, 2 March 2015

Big project revealed - Explosion box!!

Well, finally, it's here!  The big project I've alluded to a couple of times is finally finished and ready to be unveiled.....

I am lucky enough to have just become an auntie again, to a beautiful nephew, and this box is a gift for him, and his parents, my sister and brother in law.

I've also done another first for me, and that is to make a Youtube video of the box, so I can show my sister around it (she lives a distance away and I don't know when I will get chance to visit, so it was the only way I could think of to share all the bits!)


The video shows you around the whole box (albeit in a rather shaky cam, slightly out of focus way :)), but I've also uploaded some stills below, for a closer look.


 The outside of the box.  I didn't have any flourishes that were right for the box, so I used Liquid Pearls and created my own flourishes.

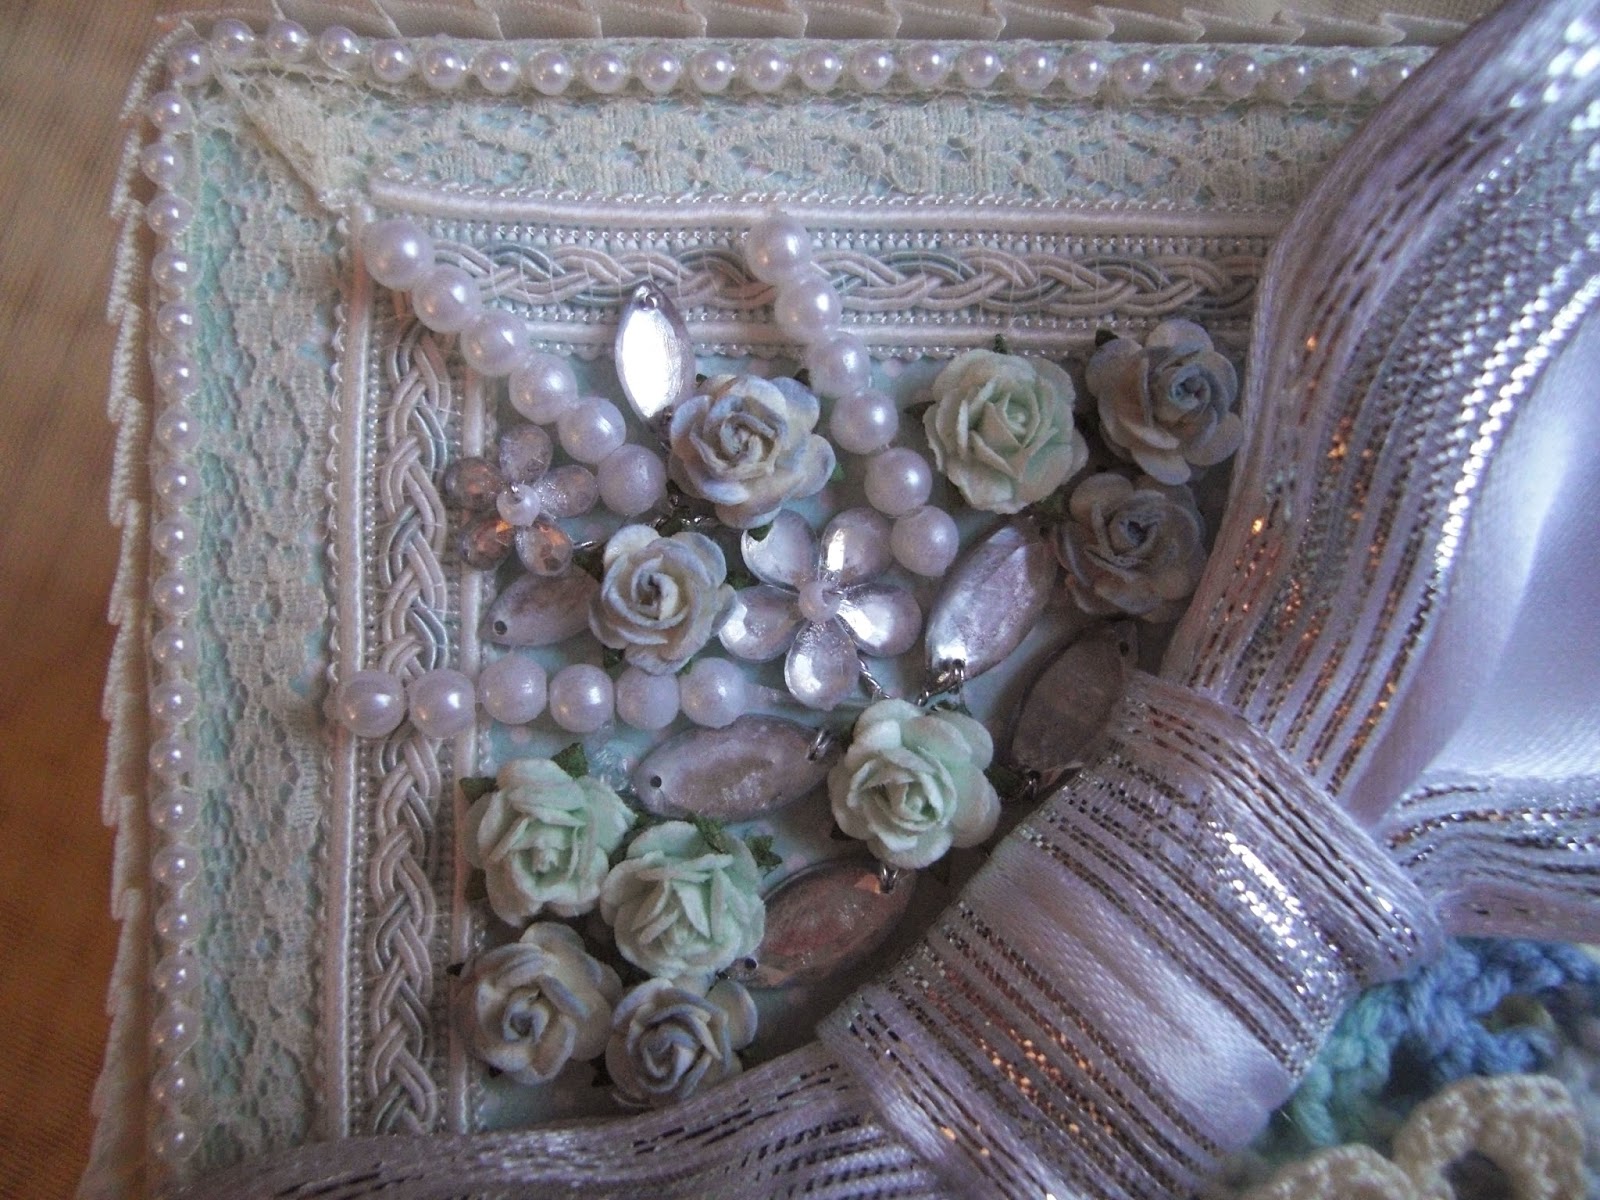

The lid is decorated with paper flowers from Wild Orchid Crafts, ribbon and trim, and a couple of bits that I crocheted earlier!

  
 I love the first moment the lid is removed and it all opens out.


The lid of the inside box is one of my favourite bits of the whole project.  I think the Prima angel is just so gorgeous, and again, lots of WOC paper flowers.


I wanted to personalise the project, so decided to die cut fencing for around the inner box, and create a door behind which I put the babies name, date of birth and birth weight.  And inside, I crocheted a little pair of baby shoes!  There is loads of room in the box for baby keepsakes too.


The first round of pages, working from the central box outward.  I really love the bottom trim - it actually wasn't the first trim I used for these pages, but when I initially finished the box, the trim I'd used just wasn't sitting right with me, so I ended up scouring ebay until I found something that would better fit in with the theme of the rest of the box, and this little gem is what I was lucky enough to end up with!


Each of the first round of pages has three pockets in the top, and each pocket has a tag - or a photo mat - in it.  I chose to use decorative paper on only one side of each tag, and on the other, I stamped a light background, and then journalling lines.  This way, each tag could be used for 2 photos - one on the front and one on the back, OR just a single photo, and the back used to jot down details of when the photo was taken, or any other circumstance related to the picture.


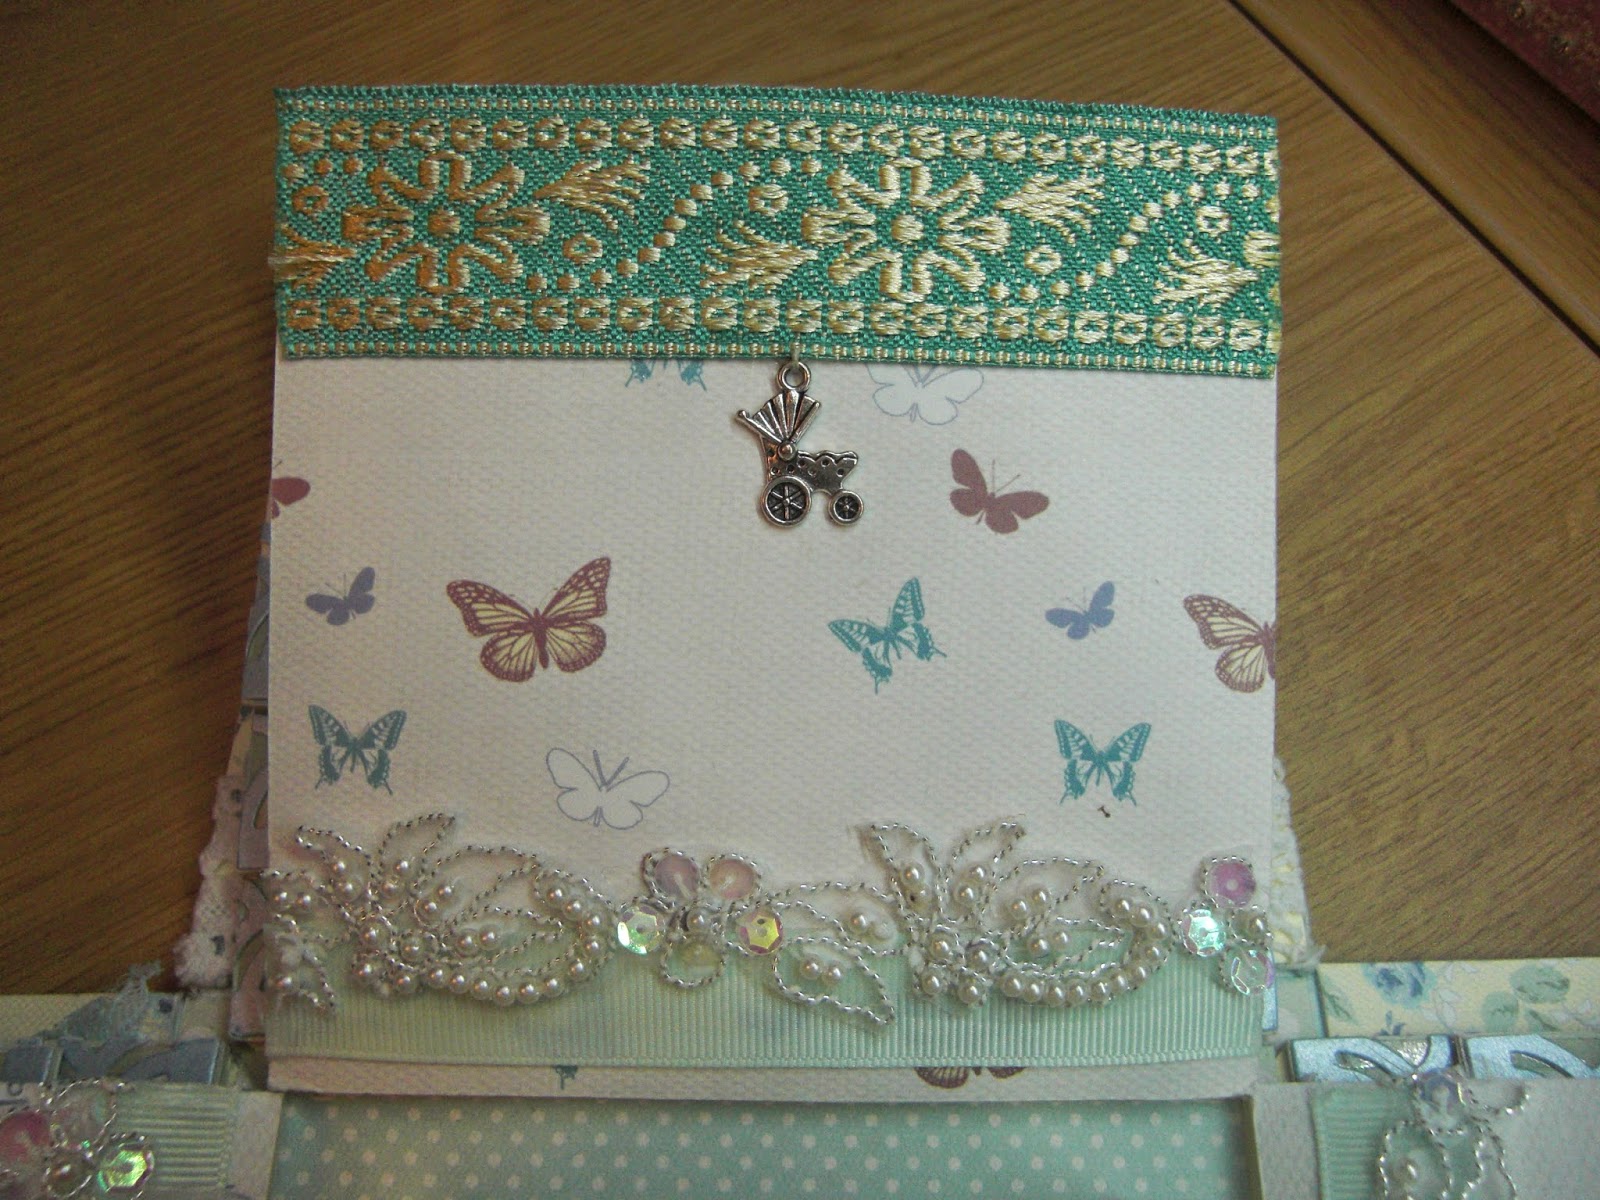
 These are the back panels of the innermost flaps.  In each round of the box, opposite panels match each other, so there are two opposite panels with the lace trims and crochet flowers, and two with the pearl trim.

 These are the middle flaps.  There are three months worth of removable calendar cards in each of the 4 middle flaps, with a space for babies' weight.  The backs of the calendar cards are blank, so notes can be jotted down there.  Each calendar card is set into a pocket on a waterfall, so the underside of each pocket would make a great photo mat.  Then, under the final flap, there is one last page with a little pocket for any extra photos or notes.


These are the backs of the middle flaps - two of each of them, sited on opposite sides.  The panel with the crocheted car can be a photo mat, the other panel with the hearts is purely a decorative panel.

more to follow......


Saturday, 24 January 2015

More handmade embellishments - shabby chic fabric hearts.

Well, it was my attempt at shabby chic, or a vintage look, anyhow!  I was really excited starting these - I've been inspired by a very talented friend of mine who has a small business - Castle Crafts - and makes the most gorgeous fabric hearts and other fabric decorations.  I wanted to have a go myself - hopefully to use in my upcoming project (though not in the way I originally planned!), and so here is the result.  I actually don't love them in the way I hoped I would, but they're OK, and I won't give up - I WILL try again....and again......and again.....!!!


 They're not backed or padded yet, I still have to pin down exactly how I'm going to use them before taking the final step.

Sunday, 11 January 2015

Handmade Embellishments

My current project is kind of a big one, which is why I haven't really added much of late.  It's taking a lot of embellishment.  Initially, I was scouring the internet to buy bits that I felt would suit my project, but amidst my browsing, I realised - why was I doing this?  Why not make my own?

Soooo......shortly before Christmas, I taught myself to crochet!!!  I surprised myself by just how much I've enjoyed crocheting - I've accidentally managed to pick up a new hobby, just when I didn't even have enough time to fully indulge my current one....!  Ah, well, one day I shall have more time, and then I'll even be able to throw in reading a book to the mix :-)

So, here's how it's going:

 The practicing......
(I should probably point out that the large pink heart in the top centre was not crocheted, instead it was stitched together, and made of chiffon!)
 

 The final cut!
These two are included in my current project, which hopefully I'll be finished with soon.
 
 
As well as crocheted embellishments, I'm also experimenting with fabric generally - as in the chiffon heart in the first picture.  I'm midway through a couple of other pieces which I'm pretty happy with - and am planning on uploading them as soon as they're complete.


Kids thank you card

Just a quick post.  It's been a hectic few days, preparing for Christmas.  My boys decided they wanted to make cards for their friends this year, but the grand endeavour ended up being abandoned about a quarter of the way in, so I found myself having to finish for them. On top of that, I had agreed to make thank you cards for my eldest to give to the friends who had come to his 7th birthday party last week.  Now, none of the above were complex, but throw in Xmas wrapping, & ferrying everyone to & from their respective Xmas engagements, and you get a slightly frazzled Mum!

Now for the card part - I actually found the thank you cards I made to be far cuter than I'd even hoped for, despite their simplicity, so I just wanted to put them out there as an incredibly easy (yet cute) kids batch card.


I will concede I seriously need to work on my photography skills, the lighting is shocking!

I used the Martha Stewart stars border punch, a wood mounted thank you stamp that I've had for ages, and the alien & car stamps from Melanie Muenschingers Wee Tees stamp set, from Gina K designs, which is just so cute!  Et voila!  Throw in some Promarkers, & there you have it!


Wednesday, 17 December 2014

My first Mini Album

I am an avid browser of Youtube craft videos, and I see so many talented people out there, making so many amazing things, pushing the boundaries much further than my card making ever hasHaving watched so many videos, I finally decided it was time to step outside my comfort zone and try something new - no mean feat with 3 small children and no time.  This little project has taken me several months, but I have to say, I am so happy with the result, that it was totally worth it.  There are certainly elements of the mini album that I don't think worked for me, but on the whole, I just love it, and I can't wait to crack on with my next one (although before I do, I have been totally inspired to try a few other things too :-)

So - here goes!!!


The cover of the album is one of the things I love most about it!  The paper I chose is just gorgeous by itself - which is one of the reasons I chose to leave the back of the album completely plain apart from the trim, because that paper just doesn't need any embellishing!

I decorated the front of the album using paper flowers from Wild Orchid Crafts, who do the prettiest range I've ever seen, and for a really good price too.  The yellow forsythia flowers I cut with my Sizzix using the Susan Tierney-Cockburn die, with a string wrapped wire stem, and some Stickles for the centres of each flower.  The angel and the frame are Prima resin embellishments which I think are just so cute!  The frame is fastened on 3 sides, but the top is open to slide in an image, or a title, I've not quite decided yet.  I used a Tim Holtz Sizzix honeycomb die as a background for the flowers and embellishments, and I used chocolate pleated ribbon, taupe ribbon, and pearl drop trim all around the bottom.

The rings binding the album are wrapped with vintage seam binding in co ordinating colours, and I made the charm chain with 3 cute charms. 


The inside cover is just the reverse side of the paper I used for the outer.


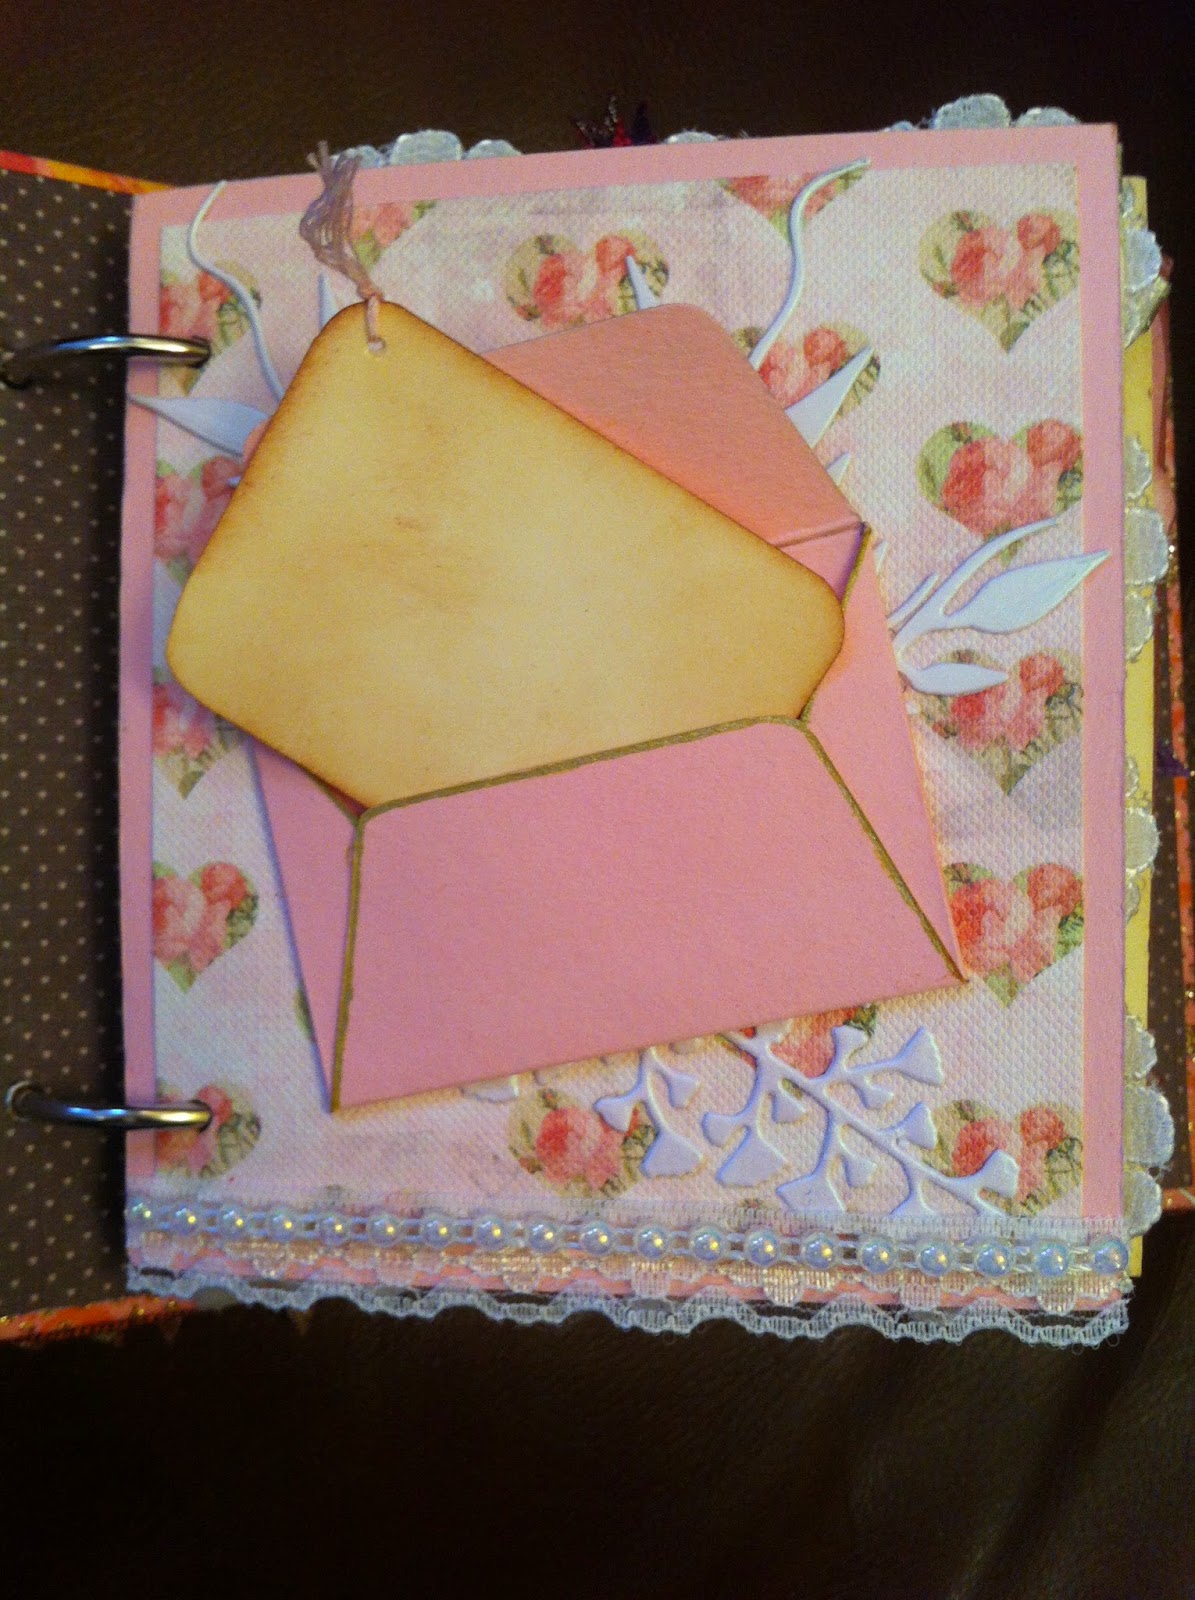
The first page above is an envelope with a tag inside.  The tag is just plain and inked.  I'll probably use the tag as an 'contents page' for the album.  I used die cuts and beaded trim to finish the page.


The reverse of the first page is a flap page.  I used lace to surround it, and will either use the page as a photo mat, or possibly put a quote on there.  The reverse of the flap has a pocket with a tag, and a die cut flower collection, which is adhered only in the corner, so another tag sits tucked underneath it.


The next page, I just used two die cut embellishments which are adhered around the outer edges only, so it will be perfect to tuck a photo in there.


This next page is actually one of my favourites.  I used the tree stamp from the gorgeous Gina K stamp set, The Giving Tree - but I made mine into a blessing tree!  I printed the letters onto tiny circles I cut out just using a normal hole punch, then I punched out tiny leaves from the same paper I used for the cover and adhered them to a length of bakers twine, which I then fastened top and bottom with brads.  I might tuck a small photo behind the string, but I won't be able to bear covering up too much of that gorgeous tree!


The next page is quite simple, I just used some bling and a tiny butterfly I made.  Every page in this album is a pocket - some I've left without anything in, so I can tuck photos or perhaps make tags at a later date - but many I've already created tags for - and this is the first.


This next page (above) is one of my less favourites.  I do really like the central tag pocket, and I like the bobble trim and the die cut feathers - I think perhaps the background of the page doesn't work for me, it's too dark, or just the wrong shade, or something!!!  Can't wait to use those little mats in the fold out tag pocket to put some little pictures and quotes on though!


I think this next page (above) is so pretty!  I love the flowers and the little heart in the corner.  The purple die cut along the bottom is adhered just at the edges and bottom, so it forms a little pocket to put photos/tags in.


Loving this next page too - the pull tag waterfall is cute and will look lovely with some little photos on.


Another page that worked well for me - a box card page


My movies (above) and wine (below) pages!  Above, the film strip is secured along the bottom and down each side, the tops are open to fit small photos.  The 'viewfinder' pulls out, as does the bottom tag, and each could be used to journal or as a photo mat.

Below, the wine charms (Taylored Expressions dies) are attached to some bakers twine - I was going to try and leave it loose so things could be tucked behind, but the charms are a little fragile, so I used foam sticky pads to secure them down.  The page is also a side pocket for a tag, with a little ric rac to pull it out.


The reverse of the wine page is my gears page - below.


The gears are all die cut, and strengthened with Glossy Accents.  The tag sits behind the side gear panel and can be pulled out and used as a photo mat.  It's kind of different to my other pages, but I really liked how it looked.

Finally, below, I've included some pictures of some of the tags which sit in various pockets.


For the most part, I like the tags, but the pocket structure that they sit in is one of my misses, I think.  Elements work, but others don't....but that's how it goes!

Monday, 1 December 2014

My 7 year old sons birthday card!

I had to think hard what to do for my son this year.  I wanted to do something a bit different, but keep with the theme of the board cards I like to do for my children's birthdays.  Sooo, I went with the board base, and a modified box card design on it.  My boys both like Superheroes and comics, so I decided to create a little comic book to go inside the box card, using family in jokes which I won't explain here!

The board and box card are relatively simple, but I think it worked well - and the comic inside certainly went down a treat!


2 super quick emergency birthday cards.

Well, yet again, my dear OH managed to forget his two grandmothers birthdays (which coincidentally fall on the same day!).  I know I should take over running his calendar, but then he'd never have to use his brain at all, and goodness knows what might happen!  Anyway, amidst birthday party planning and card making for my eldest son, I had to whip up the quickest birthday cards ever.  


Die cut flowers from the same glittered paper as the band across the card, Liquid Pearls as the flower centres, and a stamped greeting.  10 minutes, and voila!!