Sunday, 31 May 2015

More crochet projects

So, crochet has really kind of taken over my already sparse craft time at the moment.  I love that it's so easy to pick up and put down again, and just ready to go at a moments notice.  A few of the vaguely diverse bits I've done recently:


A sweater for my daughter.  I am not much of one for following patterns, so I made this one up as I went along.  I've treated myself over the past couple of months to a couple of books of crochet stitches, and whilst having a browse, I chose a stitch and decided to turn it into this jumper.  I decided to do the open weave look only across the 'skirt' of the sweater, and convert to a plain stitch for the bodice and arms, partly because I knew it would be easier to shape and join :)
I'm actually pretty happy with the results, although am the first to admit it's not perfect!


 Easter baskets.  I wanted to do something a little different this Easter for my children and for my sisters children, so instead of getting the usual big chocolate egg (believe me, they got enough of those from other relatives!), I decided to crochet each of them a little basket and fill it with sweeties and smaller chocolate bits.  (This was also particularly useful as my youngest two can't have dairy).  They were so simple and quick to make, but rather sweet and the children loved them.  So, I think, did my sister!
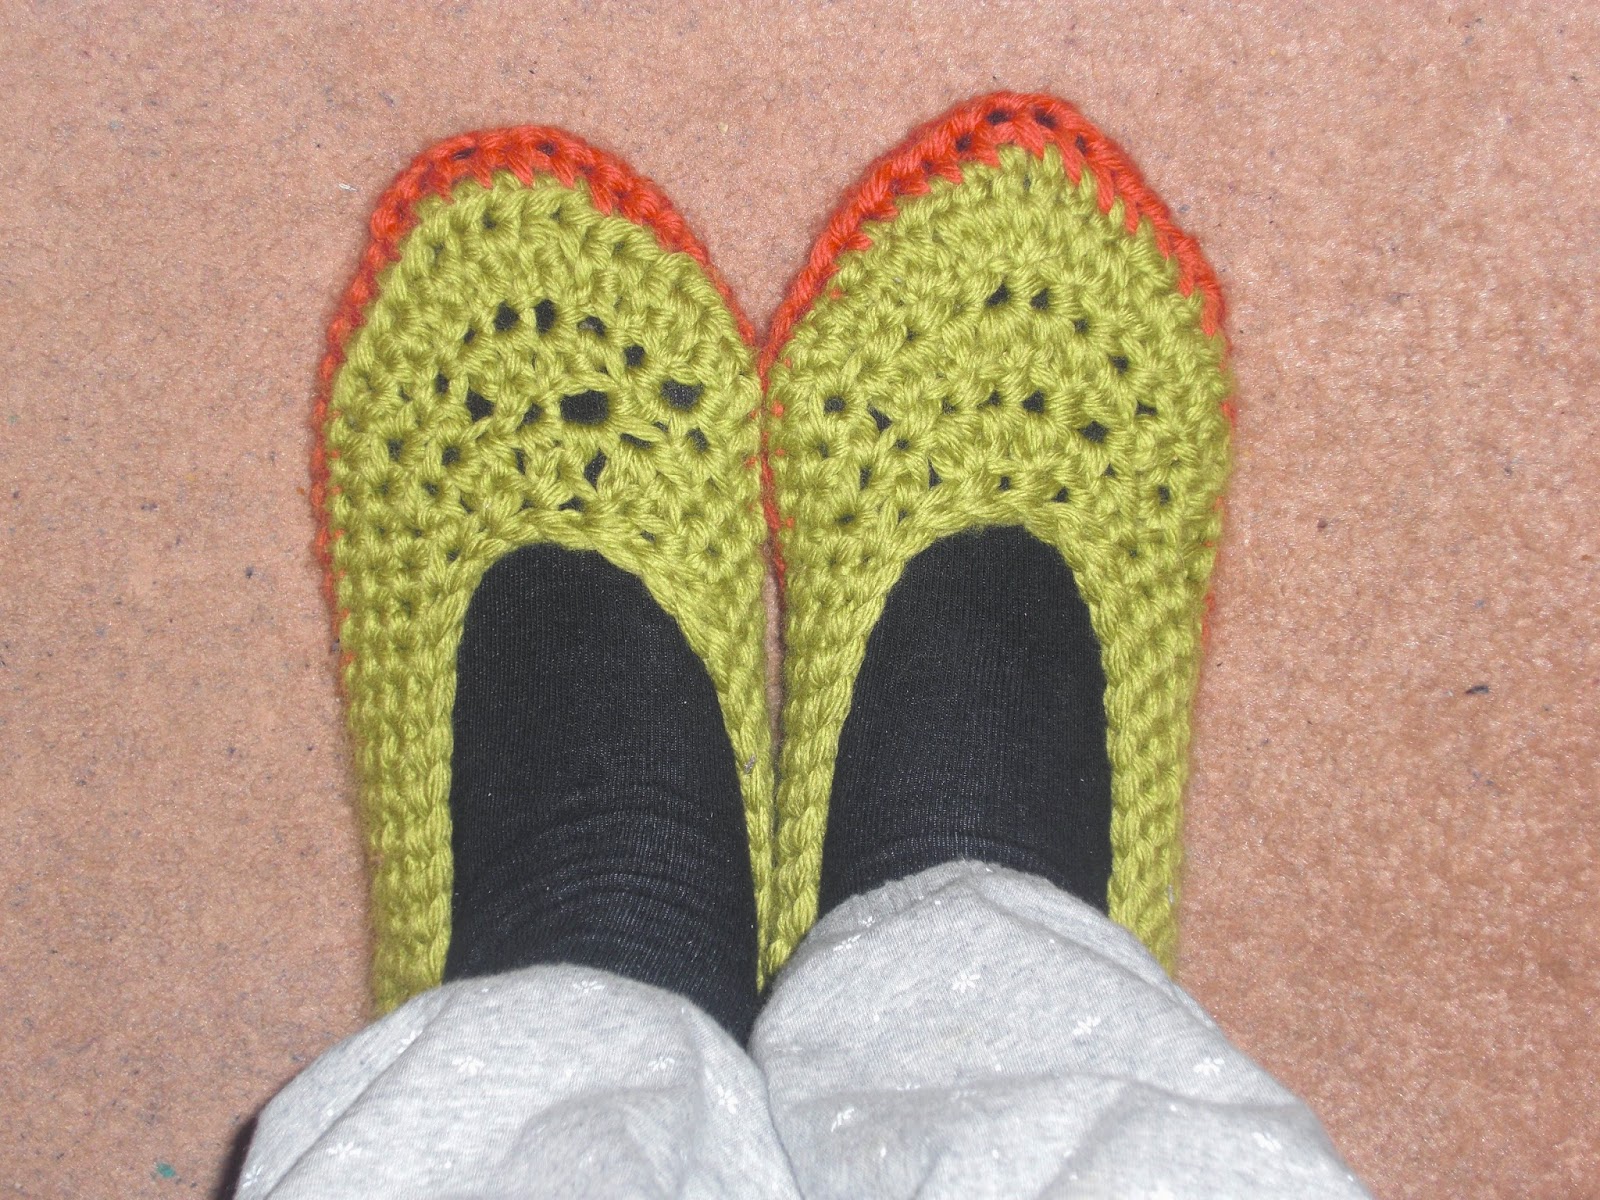

A pair of slippers for myself.  These I have to say were slightly disastrous!  I kind of messed up my DC2tog stitches on the left slipper and ended up doing those stitches about 3 different ways - as can quite clearly be seen in the picture.  BUT, instead of being all professional and unpicking and redoing, I just ran with it :).  After all, they are only for me!  (Oh, and they actually have a nice rounded shape to them, the distortion in the picture is caused by my arthritic toes, rather than the slippers themselves.  Next time, a picture with no feet in, methinks?!!


Ah, my husbands cafetiere warmer.  I was nagged for this for some weeks before succumbing.  Again, no pattern, just playing.  AND mismatched buttons!  Ah, well, never mind.  According to my husband, it works a treat, and that's the goal, right?

So, my recent projects - yet again showing that enthusiasm doesn't always mean flawlessness!! :-)

Crochet animals - turtle and snake!!

My eldest son has a thing for turtles, after being kindly given a handmade turtle whilst undergoing radiotherapy at the UFPTI in Florida.  Shortly after I learned to crochet, he asked me if I could make a companion turtle for his existing friend.  I was completely bowled over - there was nothing better than actually being able to create something by request from one of my children!  We sat down and he chose the yarn he wanted me to use and everything!  I still get fuzzy feelings every time one of them asks me to make them something specific........so, here is my boys' turtle!


Of course, as soon as I'd made the turtle for my eldest, my other son decided he wanted a snake from the same yarn....


Being owned by a (then) 3 year old made the poor snake subject to an awful lot of pulling around, tying up and other general snake cruelty, and as such he's looking a little uneven in the pics below.  His poor innards....!!


These were the first, but they haven't been the last things I've made for the children :)

Friday, 1 May 2015

More paperless projects!

It's amusing, considering it wasn't that long ago that I started this blog, that my crafty outlets have exploded so. In fact, considering the blog title that I'm crazy about papercraft, I'm finding that I'm spending just as much time crocheting (which I only learned to embellish the explosion boxes!), sewing - both by hand and machine (which I only really fully branched into when working on embellishments for the explosion box - although admittedly I didn't use the hand sewn stuff in the final cut), and other miscellaneous stuff (which I've stumbled across in various places, such as Pinterest, when researching ideas for the exploding box!).........so as you can see, that box had a lot to answer for!

Anyhow, my point is, that whatever my original intention, it seems just since Christmas, I suddenly have a lot more to share than just paper.  So, here are a couple of the other bits I've completed of late.


Both outfits here were made for World Book Day dress up at school for my two boys.  The littlest wanted to dress up as the snake from the Gruffalo, so I did the snake outfit, and crocheted a little logpile house for him to carry.  Lovely and easy to make, he loved wearing it, and it allowed him to stand out from all the standard Super hero costumes donned by many of the other kids!

The other outfit below for my eldest, was Count Olaf, from Lemony Snickett's A Series of Unfortunate Events.  Although my son loves the books and they are really all he knows Count Olaf from, I have to admit I generally used the costume idea from the film with Jim Carey.  I made trousers, long tailed coat, waistcoat, and the 'bald head with fringe of grey hair'.  My boy looked ridiculously cute - its to my regret that the couple of photos I took of him didn't do him justice!  He also loved his outfit, and even kept the 'hair' on all day at school!  He has also used the outfit several times since for dress up, including to birthday parties!!!


Monday, 2 March 2015

Big project revealed - Explosion box!!

Well, finally, it's here!  The big project I've alluded to a couple of times is finally finished and ready to be unveiled.....

I am lucky enough to have just become an auntie again, to a beautiful nephew, and this box is a gift for him, and his parents, my sister and brother in law.

I've also done another first for me, and that is to make a Youtube video of the box, so I can show my sister around it (she lives a distance away and I don't know when I will get chance to visit, so it was the only way I could think of to share all the bits!)


The video shows you around the whole box (albeit in a rather shaky cam, slightly out of focus way :)), but I've also uploaded some stills below, for a closer look.


 The outside of the box.  I didn't have any flourishes that were right for the box, so I used Liquid Pearls and created my own flourishes.


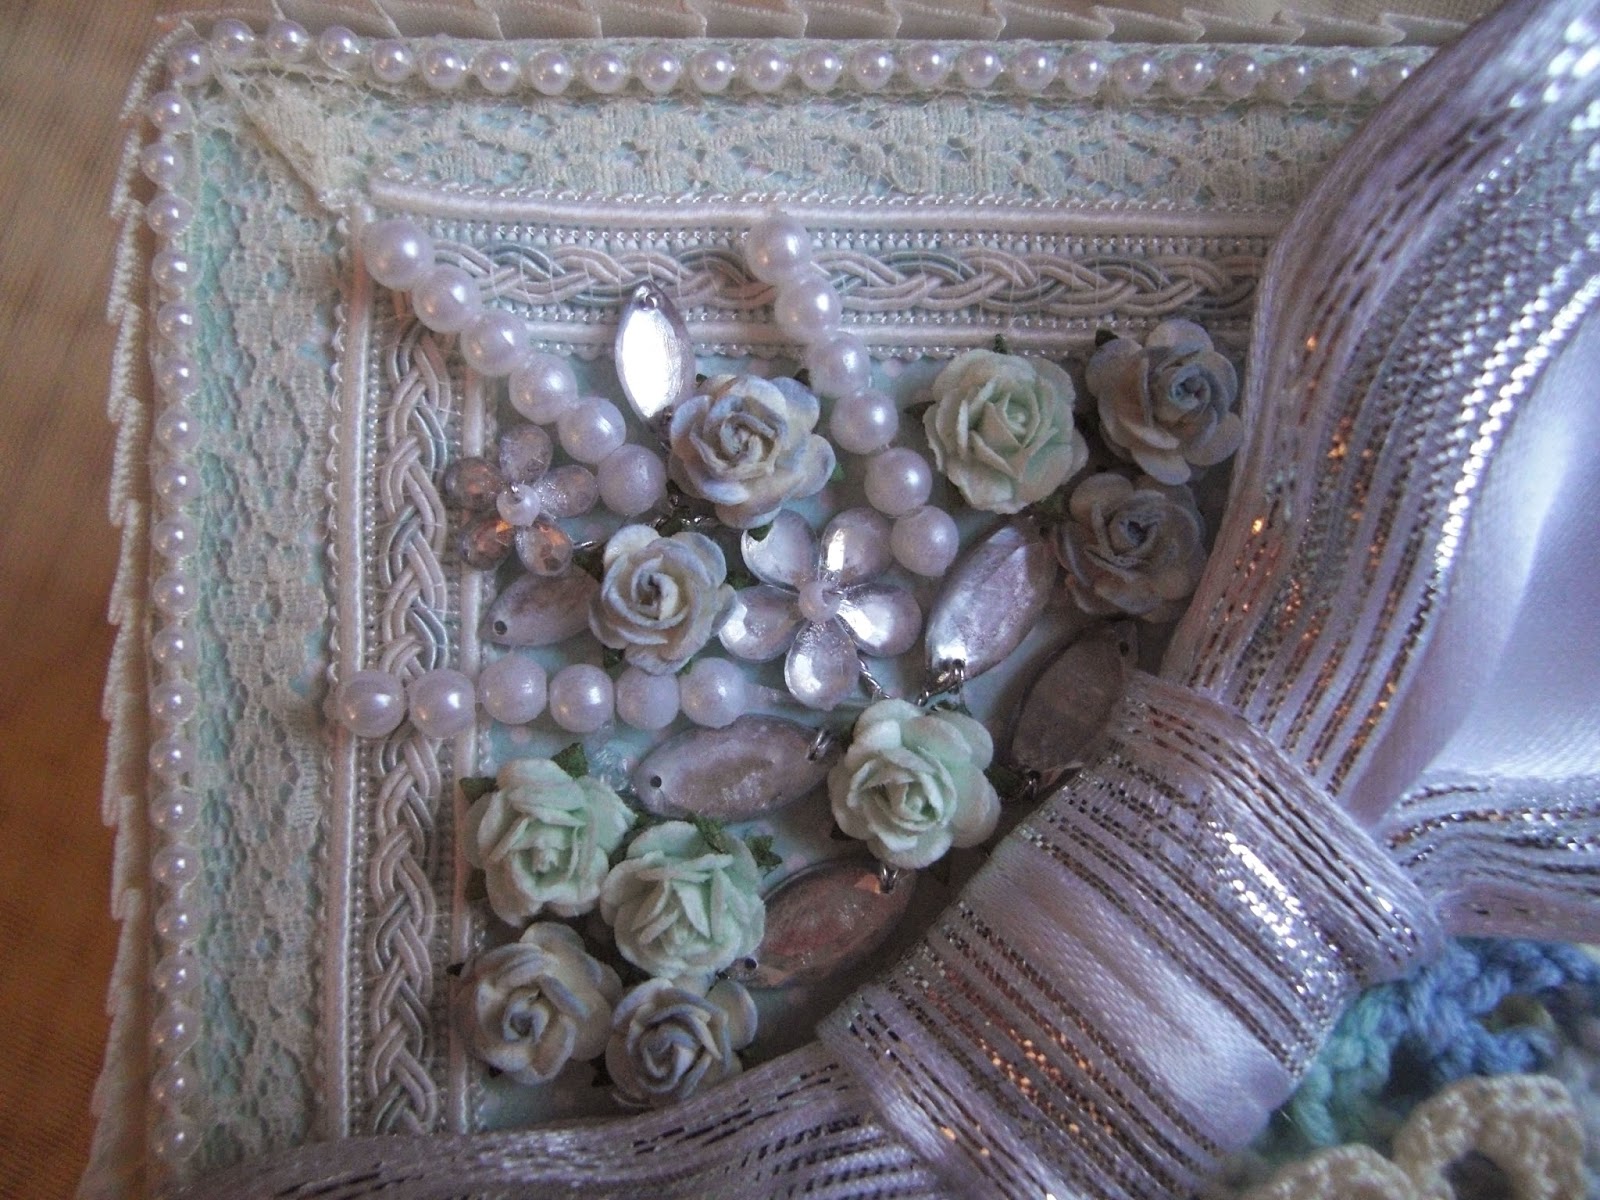
The lid is decorated with paper flowers from Wild Orchid Crafts, ribbon and trim, and a couple of bits that I crocheted earlier!

  
 I love the first moment the lid is removed and it all opens out.


The lid of the inside box is one of my favourite bits of the whole project.  I think the Prima angel is just so gorgeous, and again, lots of WOC paper flowers.


I wanted to personalise the project, so decided to die cut fencing for around the inner box, and create a door behind which I put the babies name, date of birth and birth weight.  And inside, I crocheted a little pair of baby shoes!  There is loads of room in the box for baby keepsakes too.


The first round of pages, working from the central box outward.  I really love the bottom trim - it actually wasn't the first trim I used for these pages, but when I initially finished the box, the trim I'd used just wasn't sitting right with me, so I ended up scouring ebay until I found something that would better fit in with the theme of the rest of the box, and this little gem is what I was lucky enough to end up with!


Each of the first round of pages has three pockets in the top, and each pocket has a tag - or a photo mat - in it.  I chose to use decorative paper on only one side of each tag, and on the other, I stamped a light background, and then journalling lines.  This way, each tag could be used for 2 photos - one on the front and one on the back, OR just a single photo, and the back used to jot down details of when the photo was taken, or any other circumstance related to the picture.


 These are the back panels of the innermost flaps.  In each round of the box, opposite panels match each other, so there are two opposite panels with the lace trims and crochet flowers, and two with the pearl trim.

 These are the middle flaps.  There are three months worth of removable calendar cards in each of the 4 middle flaps, with a space for babies' weight.  The backs of the calendar cards are blank, so notes can be jotted down there.  Each calendar card is set into a pocket on a waterfall, so the underside of each pocket would make a great photo mat.  Then, under the final flap, there is one last page with a little pocket for any extra photos or notes.


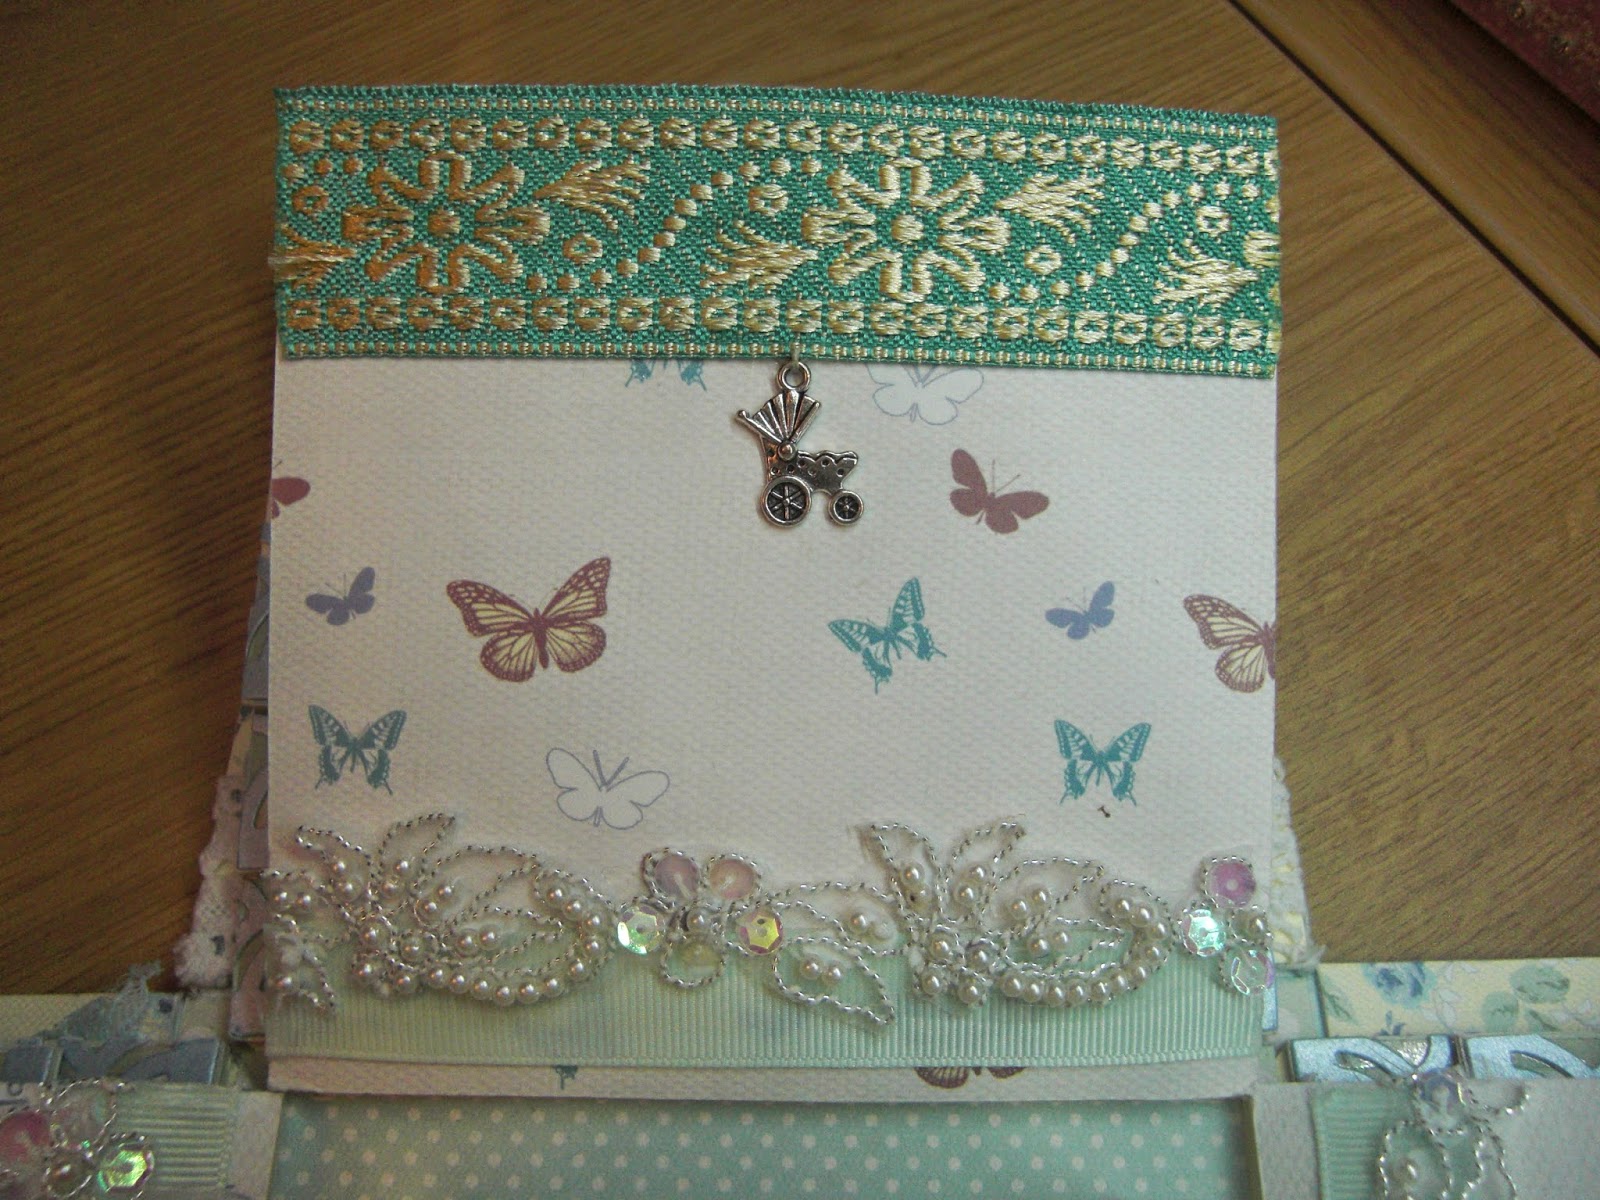
These are the backs of the middle flaps - two of each of them, sited on opposite sides.  The panel with the crocheted car can be a photo mat, the other panel with the hearts is purely a decorative panel.

more to follow......


Saturday, 24 January 2015

More handmade embellishments - shabby chic fabric hearts.

Well, it was my attempt at shabby chic, or a vintage look, anyhow!  I was really excited starting these - I've been inspired by a very talented friend of mine who has a small business - Castle Crafts - and makes the most gorgeous fabric hearts and other fabric decorations.  I wanted to have a go myself - hopefully to use in my upcoming project (though not in the way I originally planned!), and so here is the result.  I actually don't love them in the way I hoped I would, but they're OK, and I won't give up - I WILL try again....and again......and again.....!!!


 They're not backed or padded yet, I still have to pin down exactly how I'm going to use them before taking the final step.

Sunday, 11 January 2015

Handmade Embellishments

My current project is kind of a big one, which is why I haven't really added much of late.  It's taking a lot of embellishment.  Initially, I was scouring the internet to buy bits that I felt would suit my project, but amidst my browsing, I realised - why was I doing this?  Why not make my own?

Soooo......shortly before Christmas, I taught myself to crochet!!!  I surprised myself by just how much I've enjoyed crocheting - I've accidentally managed to pick up a new hobby, just when I didn't even have enough time to fully indulge my current one....!  Ah, well, one day I shall have more time, and then I'll even be able to throw in reading a book to the mix :-)

So, here's how it's going:

 The practicing......
(I should probably point out that the large pink heart in the top centre was not crocheted, instead it was stitched together, and made of chiffon!)
 

 The final cut!
These two are included in my current project, which hopefully I'll be finished with soon.
 
 
As well as crocheted embellishments, I'm also experimenting with fabric generally - as in the chiffon heart in the first picture.  I'm midway through a couple of other pieces which I'm pretty happy with - and am planning on uploading them as soon as they're complete.


Kids thank you card

Just a quick post.  It's been a hectic few days, preparing for Christmas.  My boys decided they wanted to make cards for their friends this year, but the grand endeavour ended up being abandoned about a quarter of the way in, so I found myself having to finish for them. On top of that, I had agreed to make thank you cards for my eldest to give to the friends who had come to his 7th birthday party last week.  Now, none of the above were complex, but throw in Xmas wrapping, & ferrying everyone to & from their respective Xmas engagements, and you get a slightly frazzled Mum!

Now for the card part - I actually found the thank you cards I made to be far cuter than I'd even hoped for, despite their simplicity, so I just wanted to put them out there as an incredibly easy (yet cute) kids batch card.


I will concede I seriously need to work on my photography skills, the lighting is shocking!

I used the Martha Stewart stars border punch, a wood mounted thank you stamp that I've had for ages, and the alien & car stamps from Melanie Muenschingers Wee Tees stamp set, from Gina K designs, which is just so cute!  Et voila!  Throw in some Promarkers, & there you have it!